Rolling
Updated 8 Feb 2006
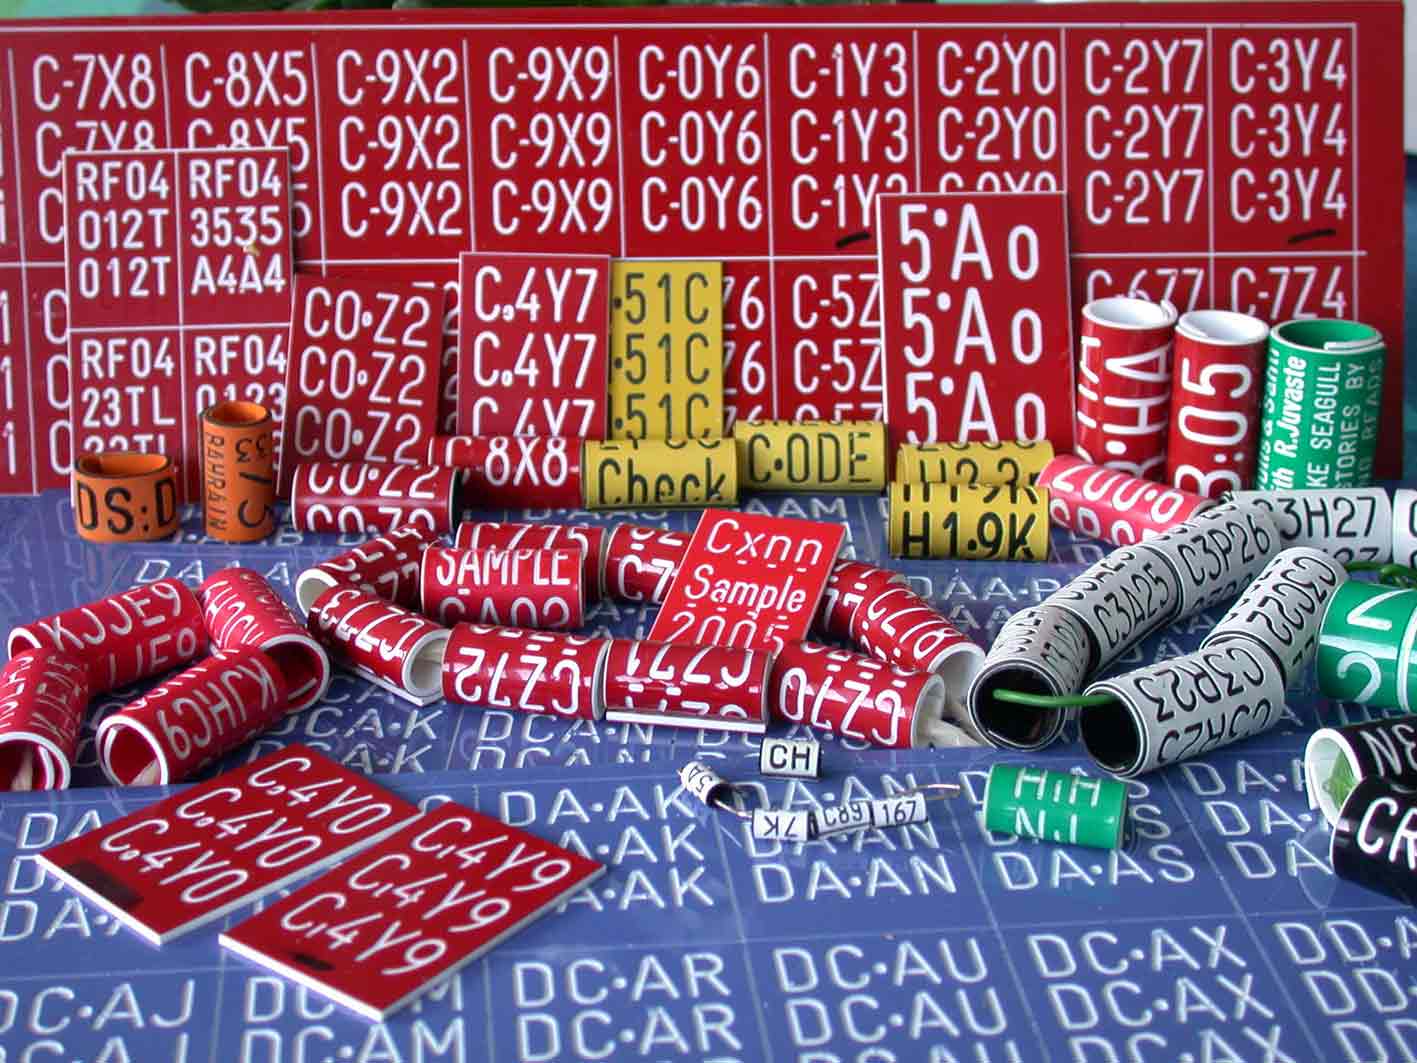
1) Get (engraved) plates
If you do not need character coding (colour rings) just get the (plastic) sheets. Then just cut the the material to stripes and roll them.
If you need read rings you have to get engraved plates, so you have to ask some producer (engraver) for them.
In both cases be careful, some common materials are not weather and wear resistant. There are big differences in properties even between colours and even batches.
2) Roll them (it is easy)
1. Get the engraved read ring plates. If you have them as a
large sheet then it is good to cut them along the engraving lines by a sharp mat
knife. You do not need to cut them loose, because you can loose them by broking
them when you have cut the lines a bit deeper. On the sheet phase you can fill
the engraving in order to prevent dirt changing the code. However, I have found
that difficult. Perhaps some elastic pastes or acrylic paints could go. Silicone
does not stand boiling if not mixed with glue. I am still testing this.
2. If the edges of the plates are very sharp then you can
smoothen them by grinding. Anyway, if you want to make very nice rings you
can smoothen the down edge that is to be against the toes of the birds. I have
not done this and I do not think that there will be any harm to birds because
the rings are so light. But of course there is a possibility to damage if the
bird gets stuck in something from the ring, so while struggling free the new
sharp edged ring can make some damage.
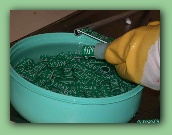
3. Get some water boiling properly in a cooking pot on a
fireplace (you can do this even on a real fire).
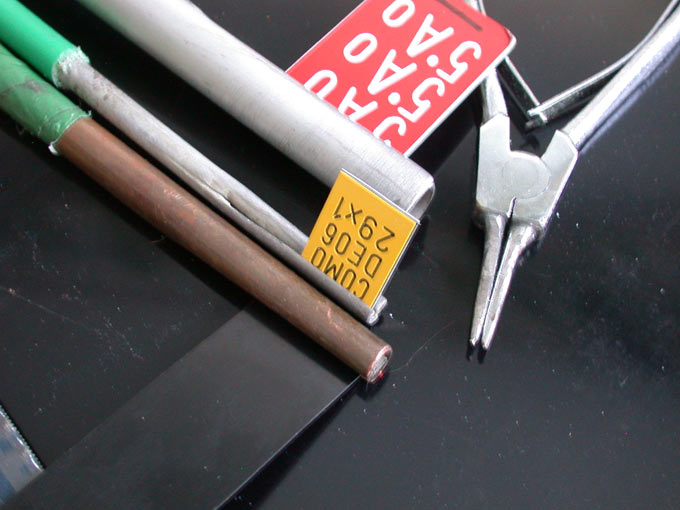
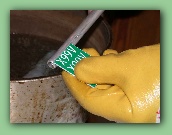
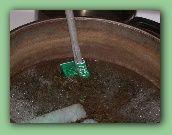
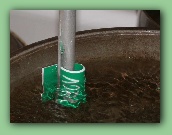
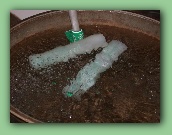
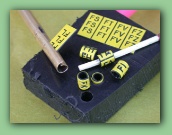
Put a ring plate to the crack of the rolling tool (fig 1). The
crack (cap) must be so tight that the ring stays well in the tool. You can
adjust the cap easily. Then stir the plate in the boiling water so that
the plate gets soft (in about 5-15 seconds) and roll then the plate around the
tool against the wall of the pot (fig 2,3,4). Take the tool from water and
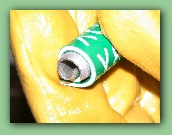
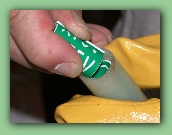
finish the rolling by fingers around the rolling tool (fig 5). You have to use
PVC or rubber glove in your (left) hand. If the rolling result is in some way
bad (not nice) so you can correct it in this phase, because the plastic is soft.
Cool the ring immediately in cold water (just for a pair of seconds) and draw
the ring from the rolling tool. Note that the end edges of the rolling tool must
be smooth so that it does not make any scratches to the inside of the ring.
4. These rings has still to be calibrated. I use two different
methods:
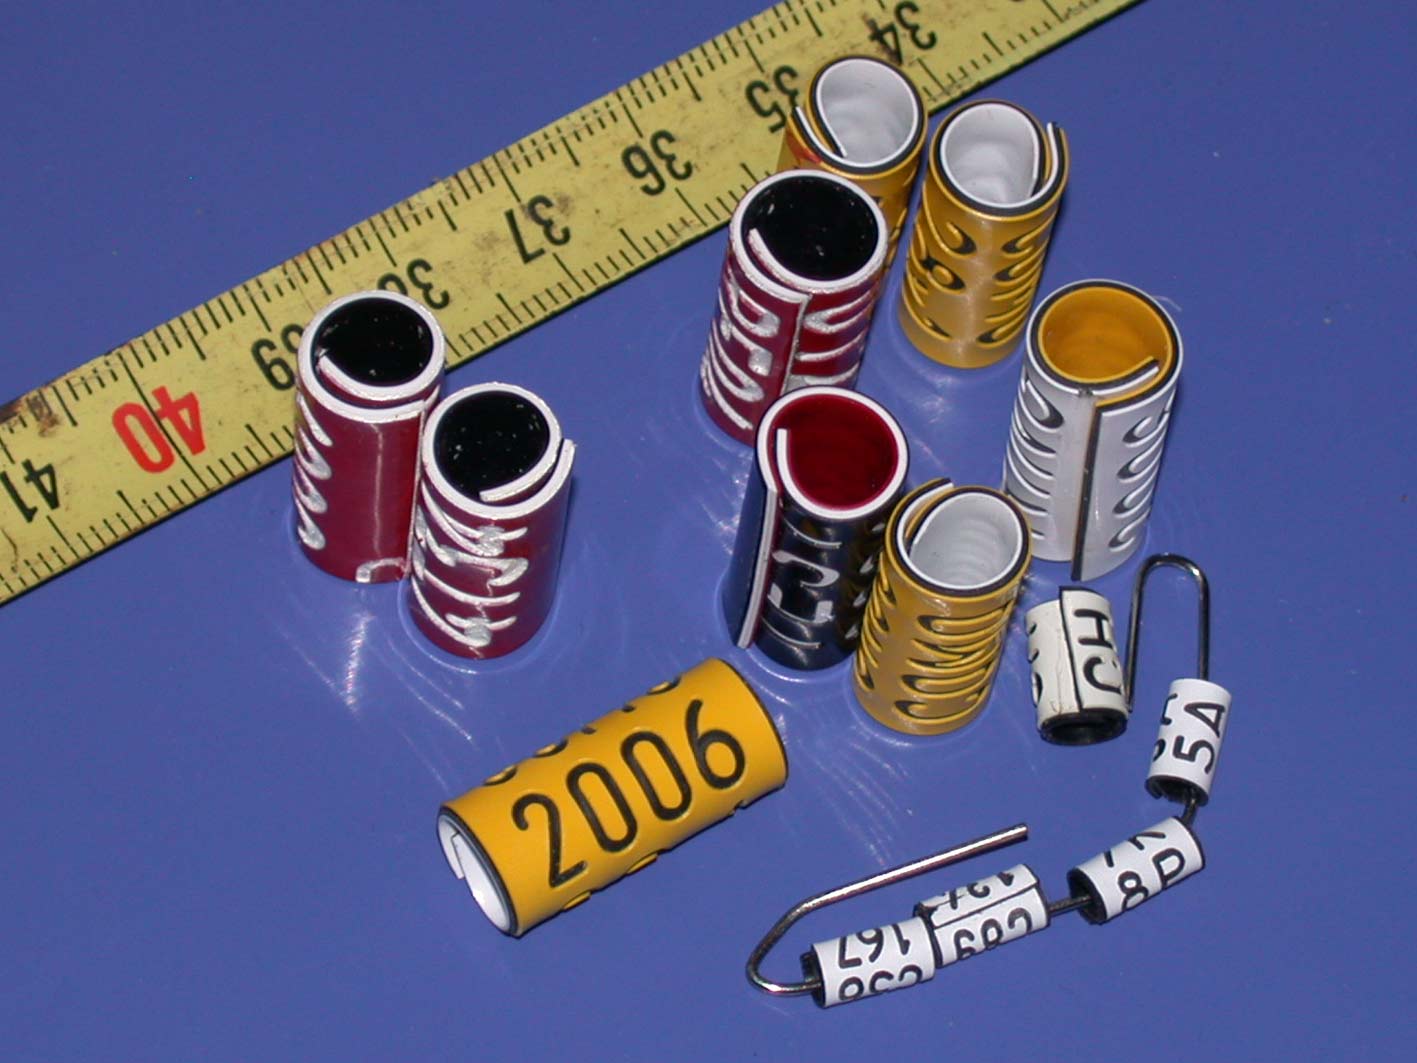
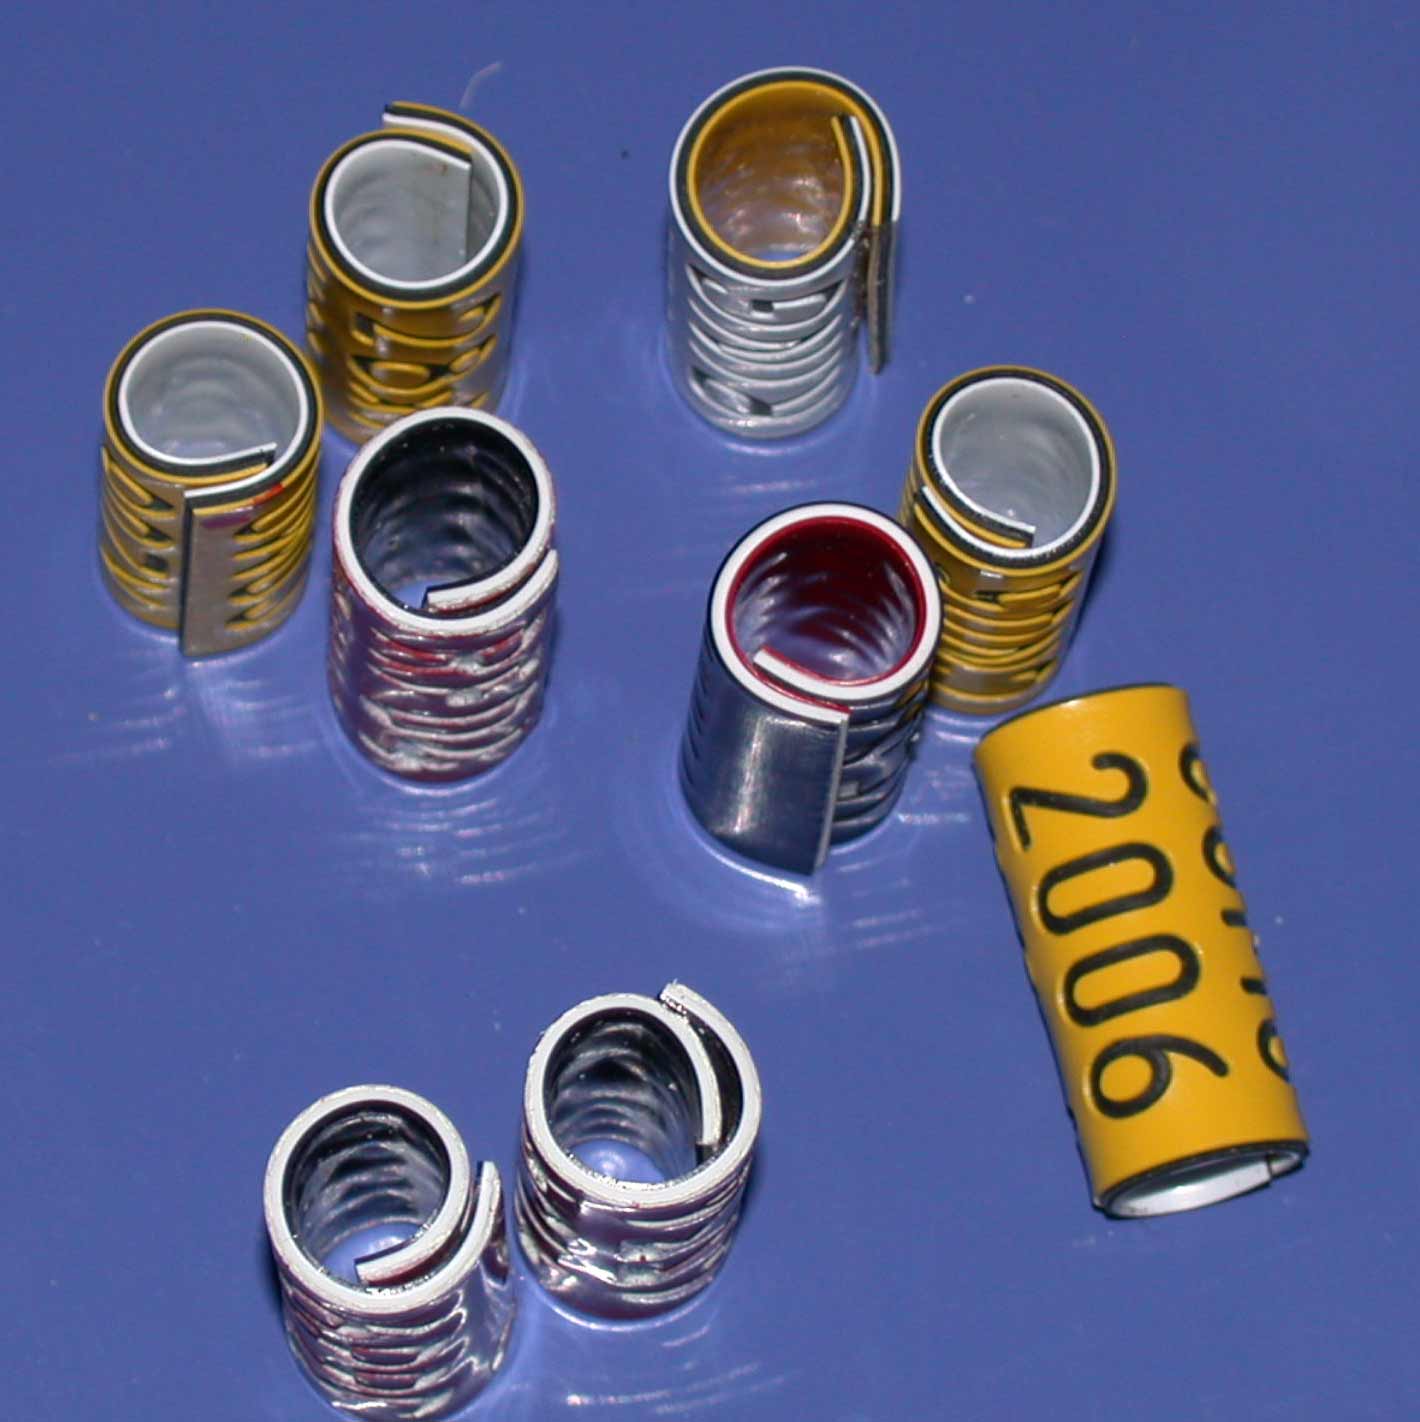
4a. Big spiral rings (thin plates, rolled over two rounds =
double rolled).
Put the 3-5 rings on a calibrating bar, which has almost the
same diameter as target inner diameter of the ring (actually it can be also
smaller if the rings are “rolled” in the pipe against table immediately
after taking away from the boiling kettle, see later). Then push the bar with
the rings into a pipe. While pushing in wind to the right direction so
that the rings stay together. Note that the rings has to be in similar winding
direction on bar. Then boil them in water usually less than a minute. The time
depends on the warming time of the pipe. Copper and aluminium pipes are faster
than thick plastic pipes. In the water the rings soften and get the measurements
of the tools and exact spiral form. Then take them out and drop to cooling
water. in some cases it is good to roll the rings in the pipe and bar against
table a little so that they form properly. The rings are now ready to put on a
string. The overlap of these spiral rings ought to be over two times (3-4
mm to the third round) and this is the position that they should remain after
being glued while ringing.
4b. Thick rings (1,6mm, for instance Darvic/Vynalast,
once rolled) with small overlap are easier to calibrate the bar can be smaller.
Just put the rings to pipe (fig 6) and boil the rings in the pipe (fig 4) and
then immediately after taking the pipe from the cooking pot put the bar inside
the rings (which still are inside the pipe and then “roll” the pipe
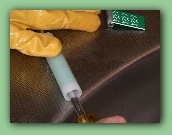
with the bar against table with strong pressure (fig 7). Drop the rings from
pipe to cool water and the rings are ready (fig 8).
5b. Small rings (once rolled)
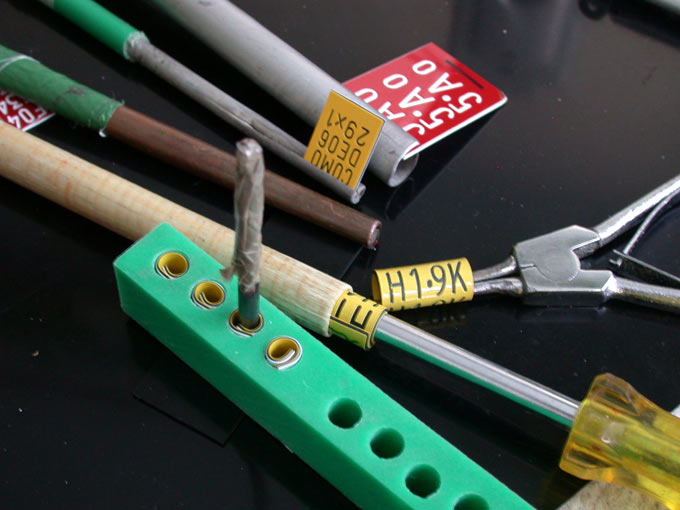
These are easy to calibrate by hole plate made of thick
PE-plastic (or aluminium or even waterproof plywood or hardwood). There ought to
be 4-8 holes in the plate, the top edges should be smoothened. The diameter of
the holes should be about the same than the wished outside diameter of the
rings. Put the rings to the holes and boil the forming plate in the water
some time so that the rings get soft. Lift the plate to the table and then
calibrate the hot rings inside by forming them with a bar (wave the bar in the
ring, fig 8). Then drop the rings immediately to the cooling water. The rings
are ready for a string.
As a bar it is handy to use the shaft end of usual
spiral-drills, because they are easy to get at least in every half a millimeter
in diameters. If you are using spiral-drills you have to put tape onto the
cutting spiral to protect your hands. The diameter of the drill can be about a
half millimeter less than the target inner diameter of the ring so that is easy
to push drill inside the ring. For same reason you should round the edge of the
drill.
Common notes:
If you are managed to make a “bad looking” ring you can
easily warm it up again for adjusting. You can even totally straighten it by
boiling and then roll it again. This is also an easy way to check that the tools
are not making any scratches into the inner side of the ring.
The best result of small overlap rings can be reached when the
rings are rolled by “wrong-end-overlap”, then you get best radii to the ring
ends while putting into leg. There shall be no crack (crevice) in the outer
side. Ring should be rolled a bit smaller that the final diameter of it. When
you open it in order to put into leg it enlarges easily to the right size.
Do open the rings as little as possible while ringing. Spiral
type read rings are easy to put on by bare hands. Rings can broke easily if they
have long engraving lines, formed by some letters. Thick rings are easy to put
on by opening pliers (Seger-ring pliers), but be careful while opening the ring.
Remember to glue well. Specially big spiral rings ought to get
glued almost around so that the rings last long. I recommend now BISON-glue for
PVC-ABS-Acrylic plastics, because it is very transparent after
drying. Some glues (for example PLASTMO) become hazy and can make
difficult to read the codes or even can change the codes, if the glue has spread
to the text. BISON is made in Netherlands by Perspecta Innternational,
Post Box 160, 4460 AD Goes (NL), tel +31-113-248248.
I am very interested to develop read rings. Please, report any
difficulties and suggestions to improve them. All information about how the
rings last or worn out and do they harm the birds is very welcome. Please, make
statistic of leg damaged birds. Are there more damaged metal or plastic
ring legs. All info is needed. While reading rings make similar notes. Please
use email, if possible.
Happy ringing and reading! Risto
Click on the thumbnail for a larger version!!
Update
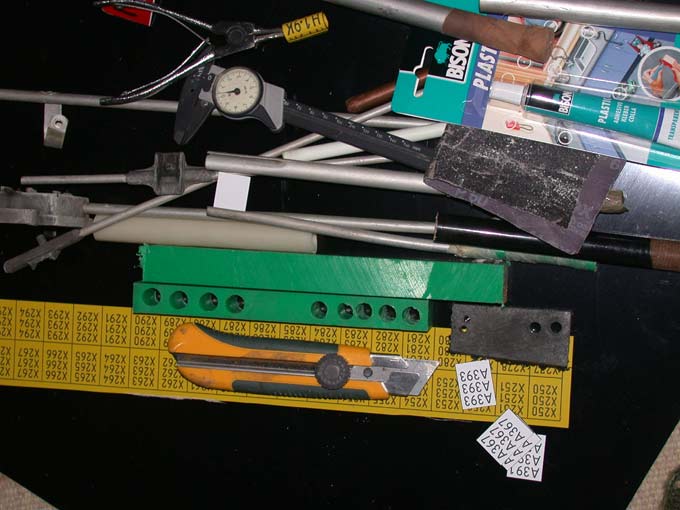
Additional information on rolling and tools.
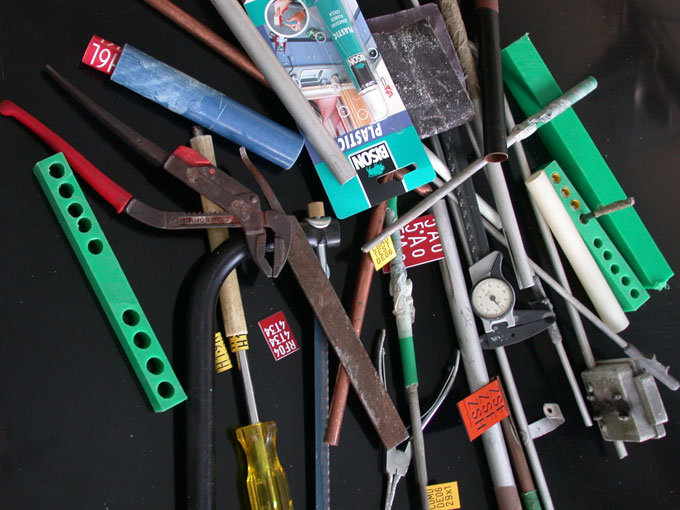
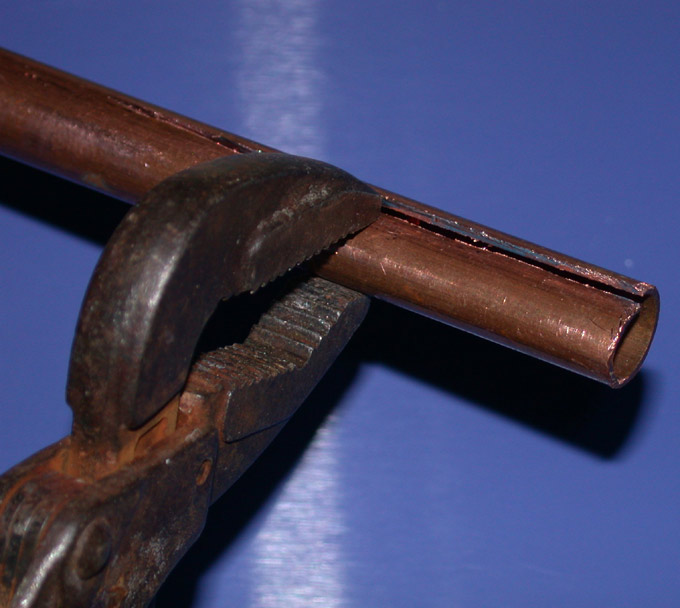
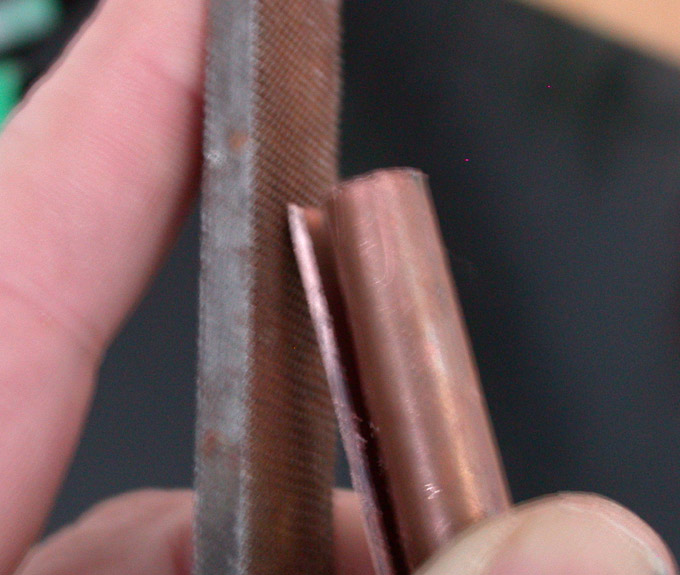
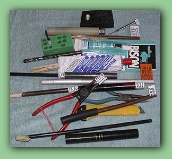
For rolling tool get some copper or aluminium pipe. For small rings you can find good material in old TV-antennas. Saw a crack to the pipe, press the other edge inside and file all sharp edges (use also abrasive paper). Check the gap (crack) to get good touch to the ring plate.
LOOK AT THE PICTURES TEXT WILL BE ADDED NEXT WEEK !! Hurry now and some problems!!
